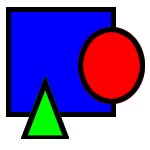
 This week we'll continue examining some of the new features in REALbasic 4.5. This time, it's vector graphics! REALbasic 4.5 has some brand-spanking-new classes to give you the ability to create vector graphics in your projects.
NOTE: This project requires REALbasic 4.5 or newer!
So far, you're probably most familiar with bitmap graphics, where you fill in the various squares of an imaginary grid with color. Examples of bitmap graphics include GIF, JPEG, and PICT(sometimes). Vector graphics, on the other hand, are drawings based on numerical formulas. You've seen vector files in action whenever you've viewed a pdf file in Acrobat or a drawing document in AppleWorks, or watched a Flash video on the web. Whereas bitmap graphics are a fixed size and orientation, vector graphics, with their formulaic-way of drawing, don't have the same constraints. Because of this, you can rotate and scale a vector image without loss of quality.
Build the Interface
Launch REALbasic and open Window1 from the Project window. To this window, add the following controls:
| Control Type | Control Name | Other Properties |
| PushButton | zoomButtonIn | Caption="Zoom In" |
| PushButton | zoomButtonOut | Caption="Zoom Out" |
| PushButton | rotateButtonRt | Caption="Rotate Rt." |
| PushButton | rotateButtonLeft | Caption="Rotate Left" |
| Canvas | Canvas1 | Width=500;Height=375 |
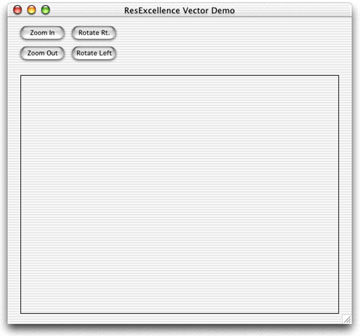
Arrange the interface however you'd like, but it might look like this:
Source Code
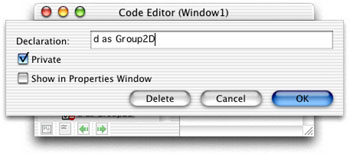
Before you begin adding code, you need to add a property to Window1. Double-click Window1 to open its Code Editor. Select the Edit-New Property menu and create a new property.
The first bit of code goes in the Open event of Window1.
Dim r as RectShape
Dim p as Picture
//create a Group2D object
d=New Group2D
//create a picture object for displaying the images
p=New Picture(500,375,0)
//create and define a RectShape
r=New RectShape
r.width=100
r.height=25
r.border=100
r.bordercolor=RGB(0,0,0) //black
r.fillcolor=RGB(255,0,0) // red
r.borderwidth=2
//add the rectShape to the Group2D object
d.append(r)
//place the picture on the Canvas
Canvas1.Backdrop=p
Canvas1.Backdrop.Objects=d
Next, add this line of code to the Paint event of Canvas1:
g.drawobject d,250,175
Next, you'll need to create a new method. Select Edit-New Method and create a new method named Redraw.
To this method, add the following code:
//a simple routine to redraw
//with less flicker than the paint event
dim g as graphics
g=canvas1.graphics
//erase the canvas
g.ClearRect 0,0,canvas1.width,canvas1.height
//draw objects on the canvas
g.drawobject d,250,175
The final step is to add some code for the rotate and zoom PushButtons.
rotateButtonLeft.Action()
//rotate left
canvas1.backdrop.Objects.rotation=canvas1.backdrop.Objects.rotation-0.3
redraw
End Sub()
rotateButtonRt.Action()
//rotate right
canvas1.backdrop.Objects.rotation=canvas1.backdrop.Objects.rotation+0.3
redraw
End Sub()
zoomButtonIn.Action()
//zoom in
canvas1.backdrop.Objects.Scale=canvas1.backdrop.Objects.Scale*1.1
redraw
End Sub()
zoomButtonOut.Action()
//zoom out
canvas1.backdrop.Objects.Scale=canvas1.backdrop.Objects.Scale*0.9
redraw
End Sub()
Conclusion
To test the project, select the Debug-Run menu. The demo draws a simple rectangle on the screen and lets you zoom in/out and rotate the object in both directions. As usual you can download the completed project instead of creating it by hand. Use your imagination when playing with the new vector features of REALbasic 4.5. There are many useful scenarios for using this feature, so it's a welcome addition to REALbasic. Have fun and see you next week!